Record on motion detection with Xiaomi Dafang
Couple months ago, I read this article about hacking the Xiaomi Dafang camera to expand its capabilities. It’s a cheap $30 camera with neat features, such as MicroSD support, a rotating gimbal, microphone, infrared vision, among others. Thought it would be a fun project to try it out. The goal was to check if I could use this to record motion detection at night, without going to a third party service.
Camera
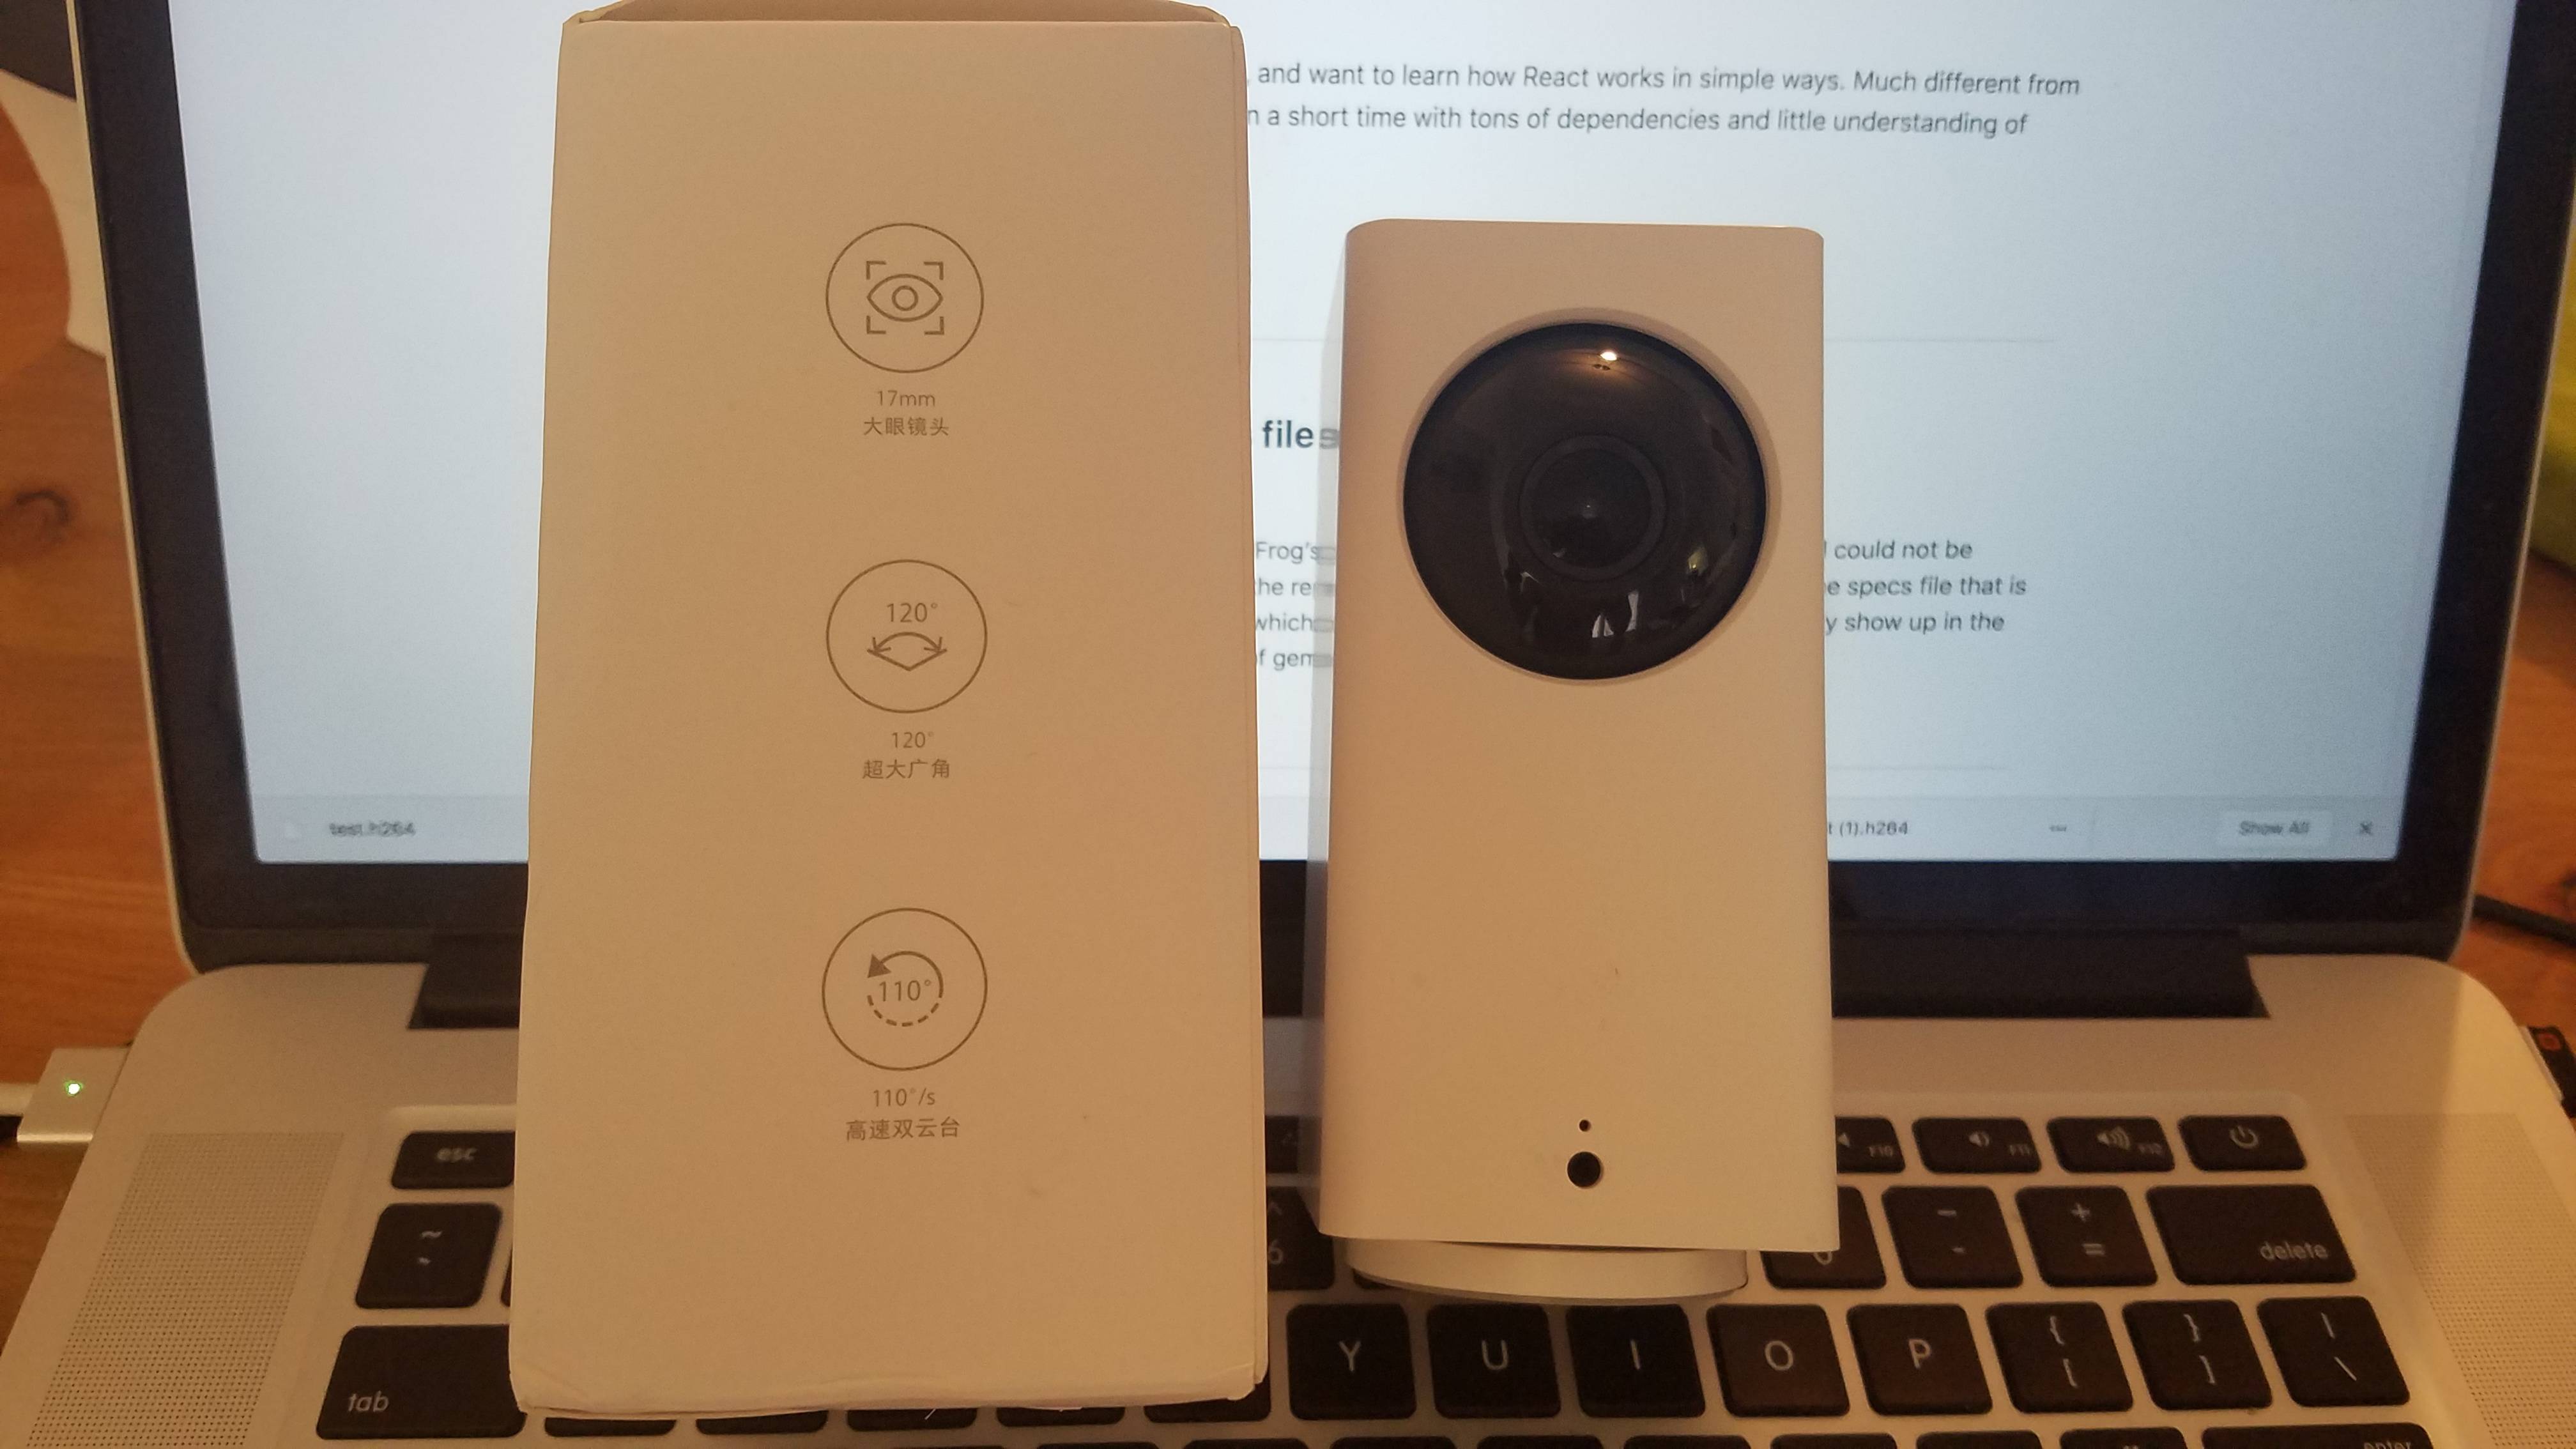
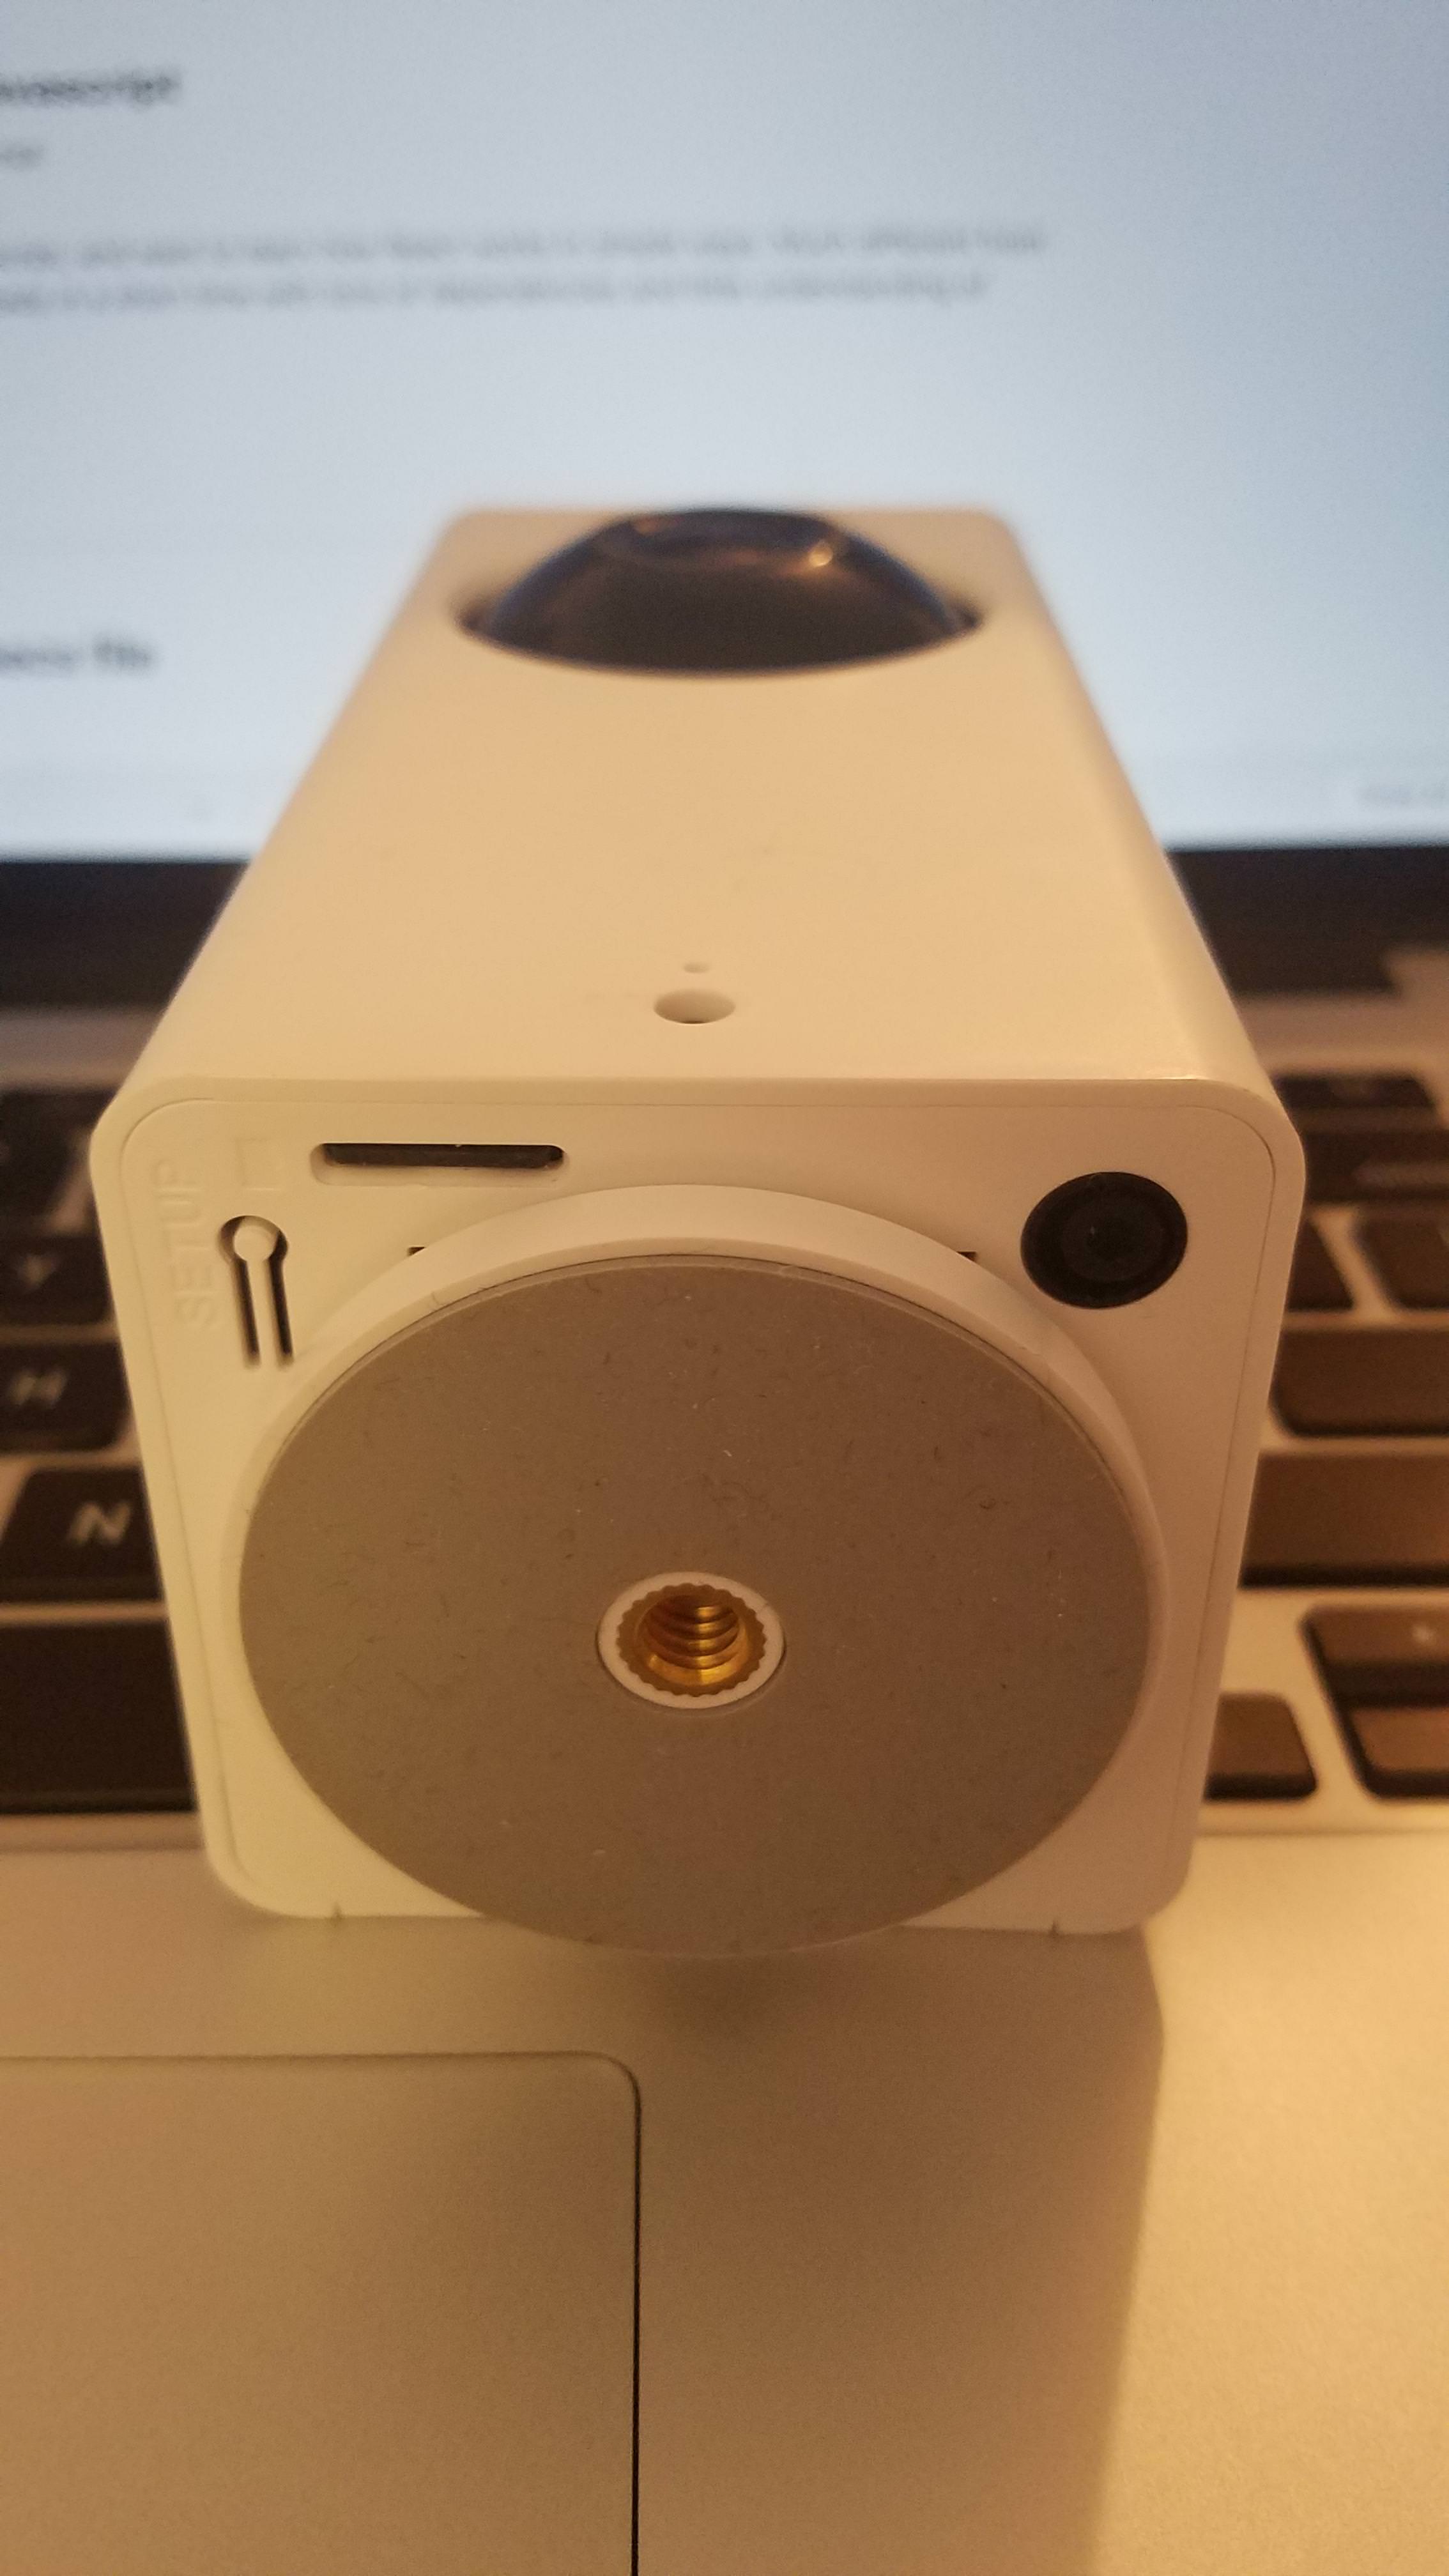
I went with the Xiami Dafang Portable HD (possibly available here as well), as it seemed cheap enough and containing enough functionality to play with. There are some comparisons of the versions of this camera here. Also, interestingly enough, this camera is sold under other brands, such as the Wyze cam. We’re not looking for any proprietary software, so we’ll just go with the Dafang.
Installing Custom Firmware
Installing the custom firmware is pretty straightforward. The setup is in two parts: installing the custom bootloader, then installing the custom firmware. See instructions here.
Accessing the Control Panel
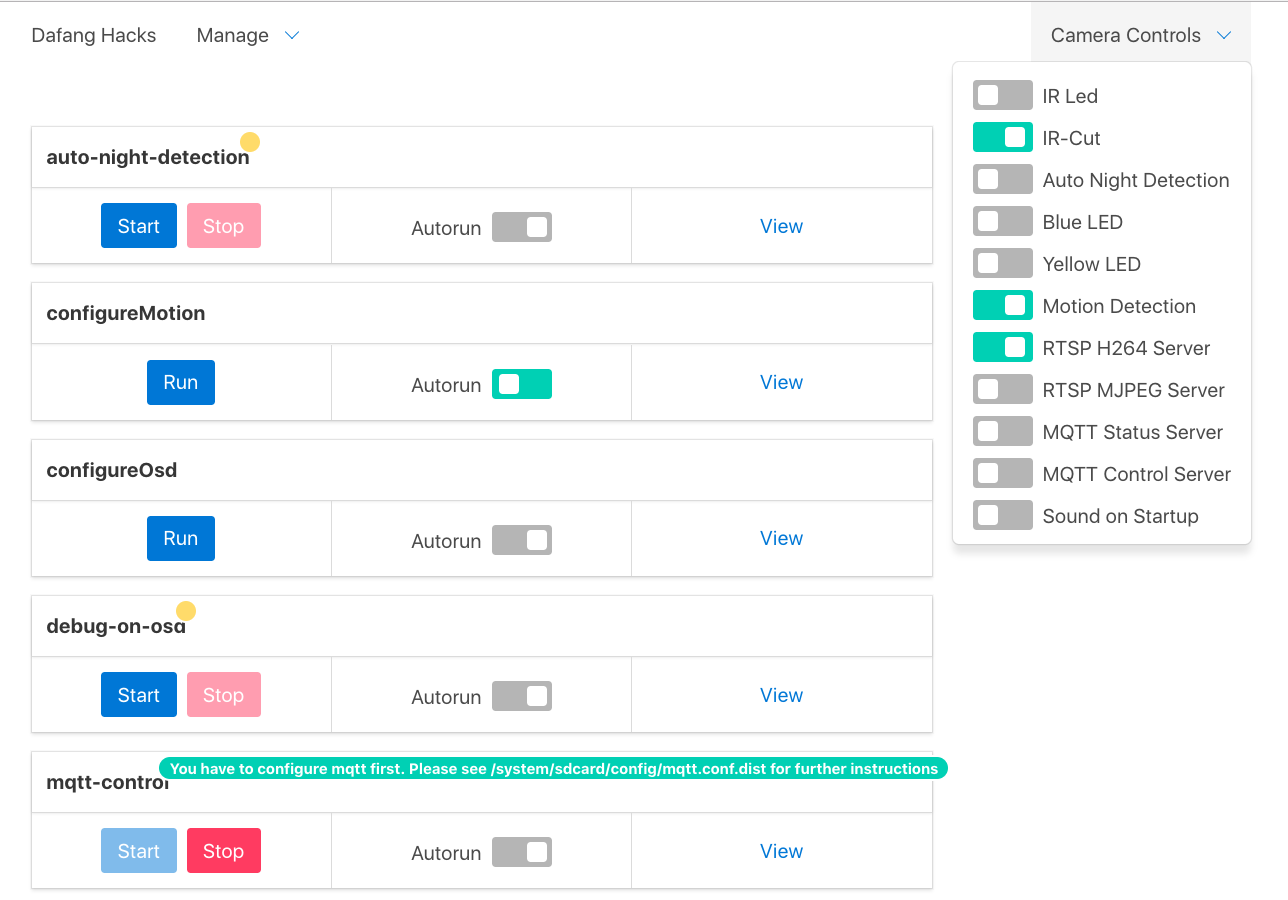
Once the custom firmware is setup, and the camera is on, it will connect to the wifi as configured. Simply log in to your router to find the camera’s ip, and load it in a browser. Credentials are in the FAQ.
Viewing the Video Feed
VLC is a great tool to view the rtsp feed. Go to File > Open Network, then enter the rtsp url (by default rtsp://xiaomi_ip:8554/unicast). For additional security (if you’re enabling this remotely), there is a config to protect the feed with credentials, under /system/sdcard/config/rtspserver.conf. Simply SSH into the camera (using same credentials as above). A lot of config are stored under this folder and will be read again on camera reboot. Options are usually listed under the .dist file.
Configuring motion detection
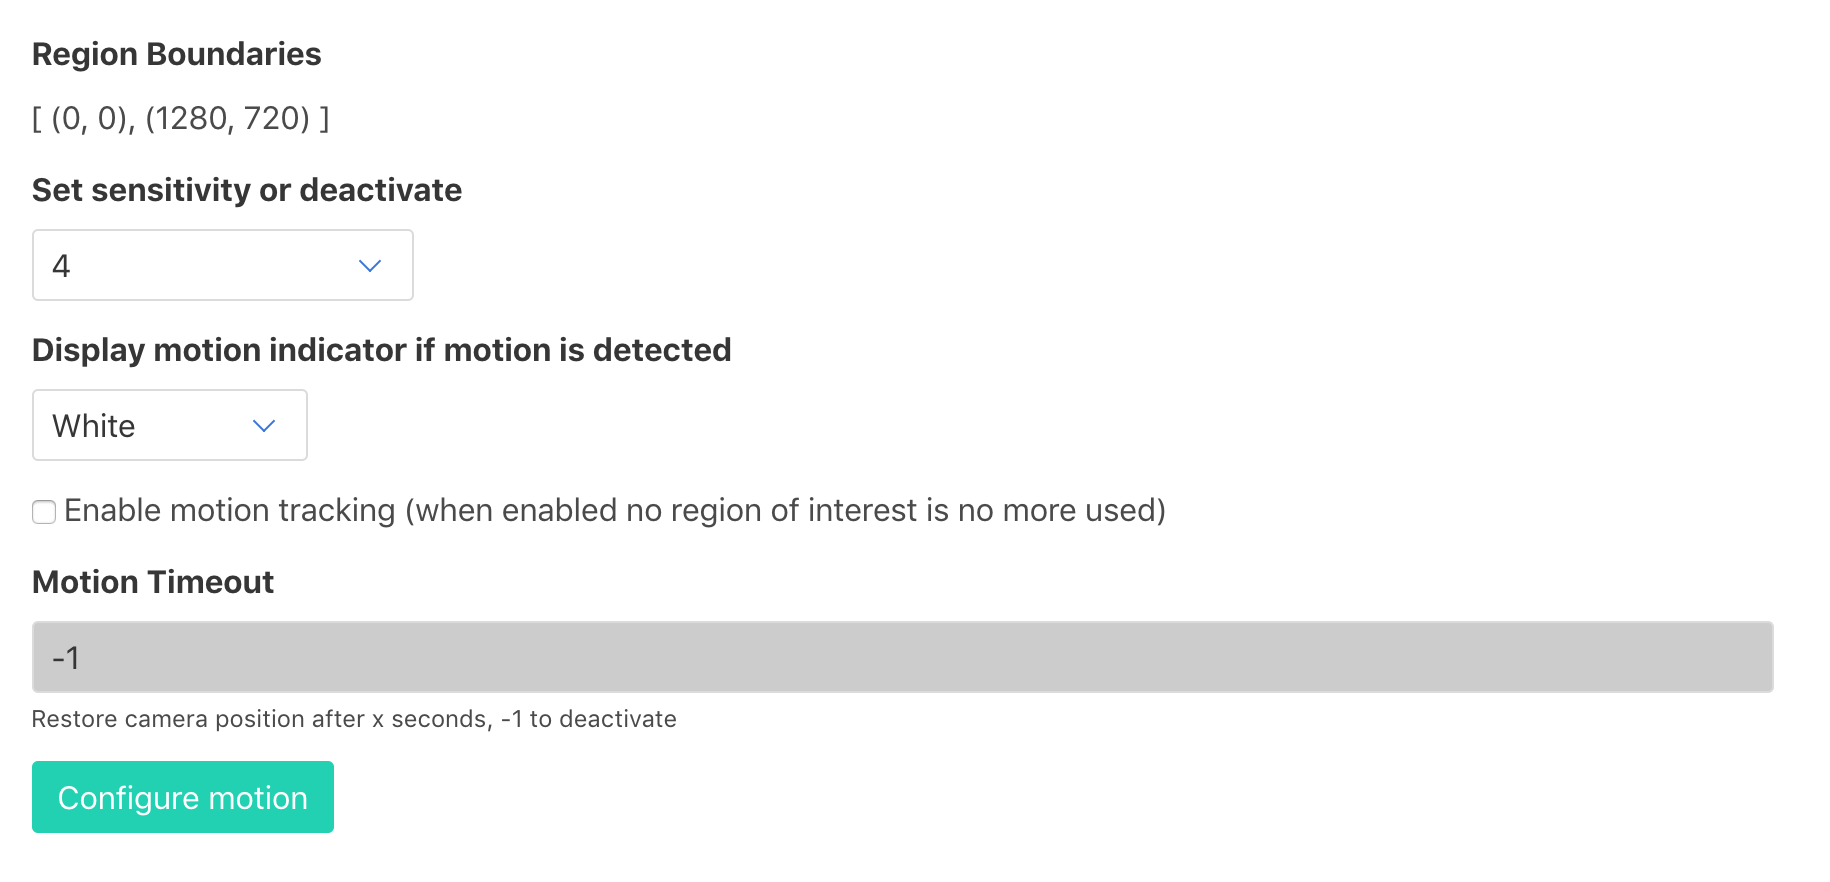
From the control panel, there are a few options to setup the motion detection configuration. At this moment, the sensitivity goes from 0 (not very sensitive) to 4 (most sensitive to movement). You can also save config under /system/sdcard/config/motion.conf
Recording the stream on motion detection
This is what took me the most time. There are two ways to record video.
- Using h264Snap:
/system/sdcard/bin/h264Snap > /system/sdcard/DCIM/`date +%Y-%m-%d_%H.%M`.h264
- Using avconv:
/system/sdcard/bin/avconv -i rtsp://0.0.0.0:8554/unicast -strict experimental -t 15 -y -vcodec copy -acodec aac /system/sdcard/DCIM/`date +%Y-%m-%d_%H.%M`.h264
Linking this to the motion detection script, we just have to add this command under /system/sdcard/scripts/detectionOn.sh
However, a couple issues came up:
-
h264Snap doesn’t work when rtsp server is up
-
Motion detection only works with rtsp feed
Solution appears simple, use avconv to record. Couple issues also came up.
-
avconv always got killed, and investigating the system log, it was due to low memory
-
avconv introduced a delay when recording the stream, lagging and starting to record a few seconds after motion
Fixing the out of memory error
Whenever I tried running avconv, it would get killed by the kernel, and dmesg would display Out of memory: Kill process avconv. A quick fix could be to enable a swap file, but it would most likely kill the sdcard in a short time.
The solution was to replace the bootloader. free -m displayed I had 35M of memory before, after flashing the bootlader it went up to 100M. See instructions here.
Fixing the avconv (ffmpeg) delay when recording a stream
It looked like avconv tried to guess a bunch of data before recording, introducing lag and latency and missing a few seconds of movement. The solution was hidden in a couple flags, mainly flags low_delay, fflags nobuffer, and probesize 32. You can learn more about those options here. The final command was
/system/sdcard/bin/avconv -flags low_delay -fflags nobuffer -probesize 32 -i rtsp://0.0.0.0:8554/unicast -strict experimental -t 10 -y -vcodec copy -an /system/sdcard/DCIM/`date +%Y-%m-%d_%H.%M.%S`.h264
Final setup
In the end, here’s the final setup.
Create /system/sdcard/record.sh
|
|
Then add in /system/sdcard/scripts/detectionOn.sh
/system/sdcard/record.sh &
Videos will be saved under /system/sdcard/DCIM/. An easy way to download them is to move them under the /system/sdcard/www/ folder, which will make them available at http://ip/video.h264, or push them within the script via curl. See this example.
Happy hacking!